As an amateur photographer, I have been learning how to shoot and edit photos using adobe tools for quite a long time. When I show my photos to others, people always tend to ask me what kind of high-end camera I’m using since they think they could never get a photo like this with their phone lenses. However, the truth is , it is actually never about the camera (sometimes yes because better camera allows wider range of editing). It is actually about your post-editing of the photo.
Here’s the photos I took of a car meet I had with my friends a couple of weeks ago. You can compare the before and after effects.
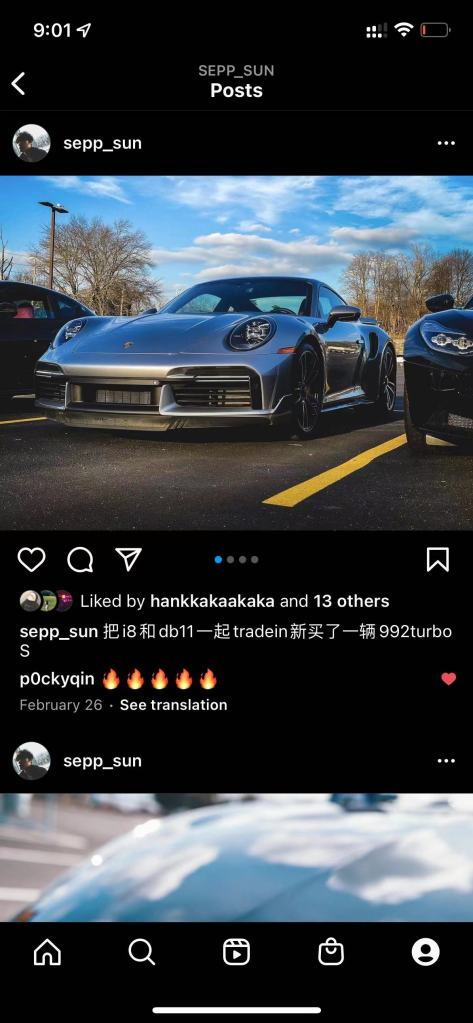
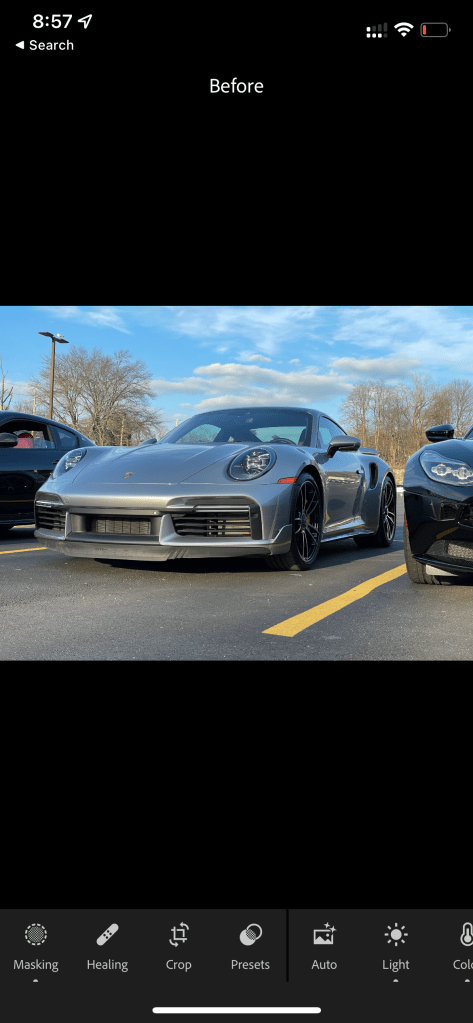
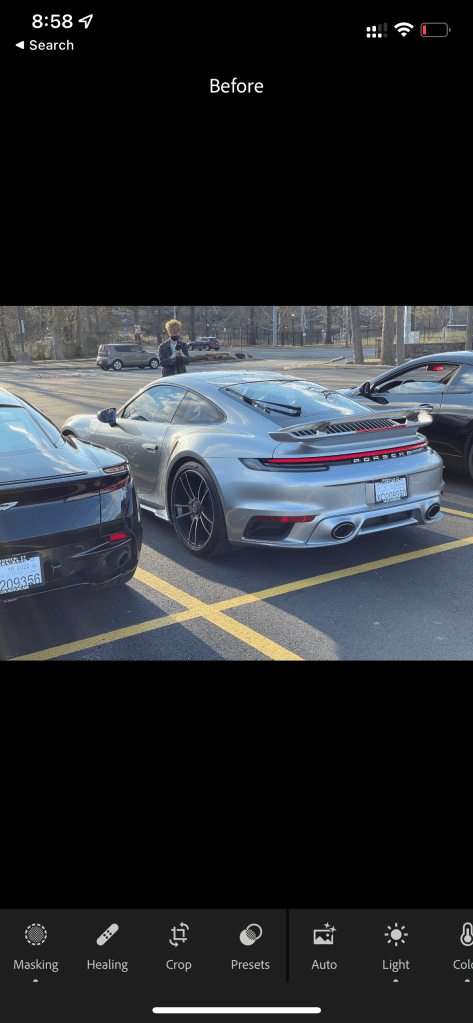
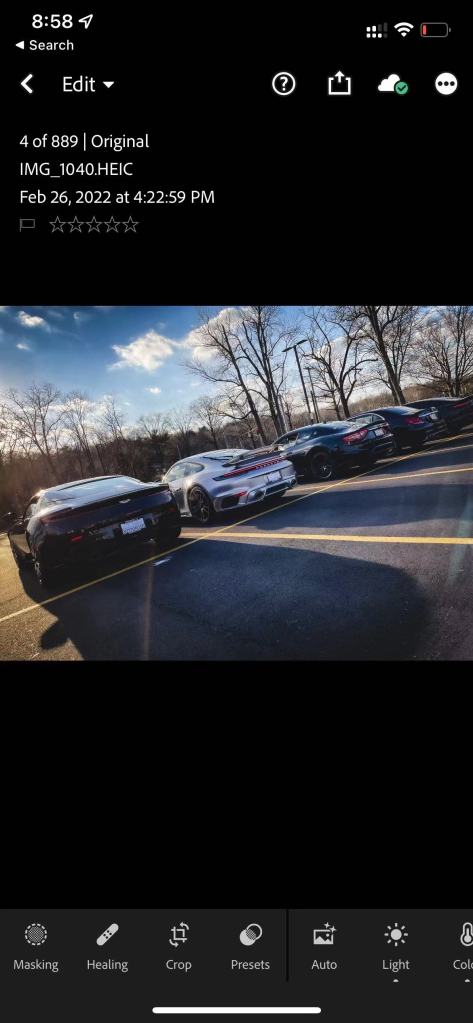
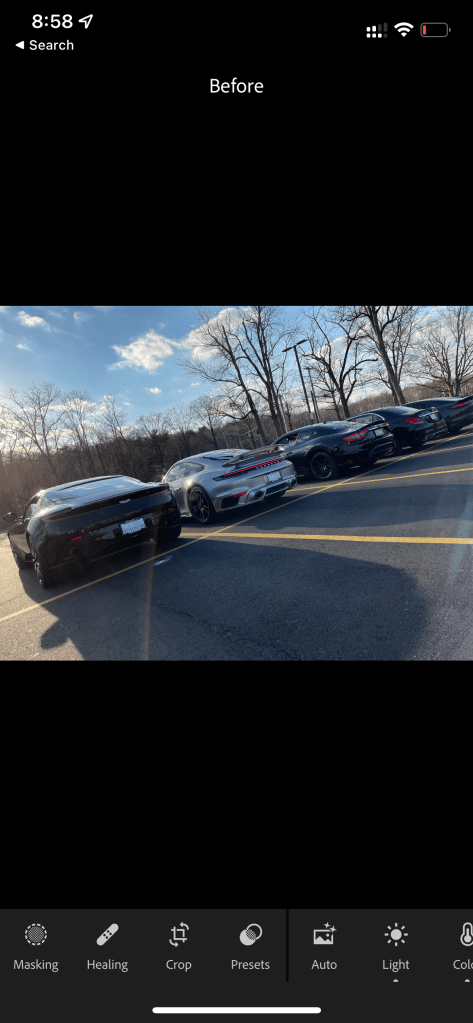
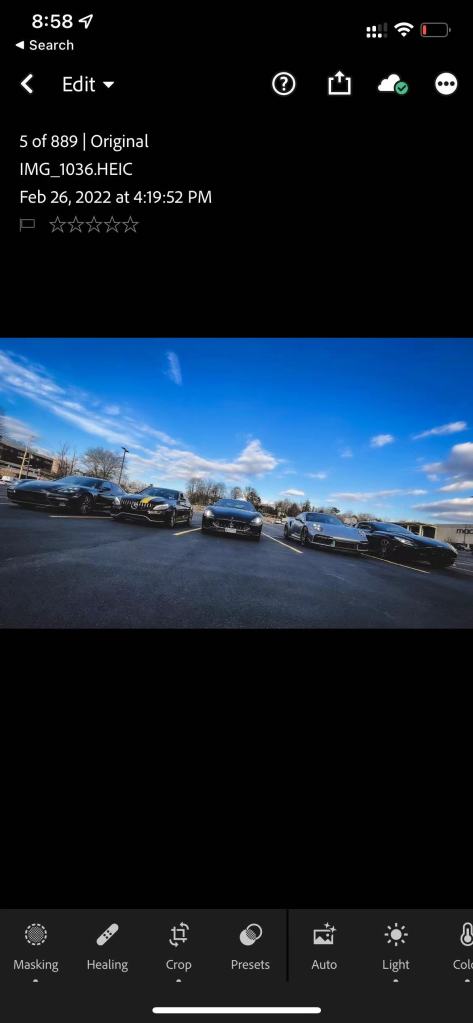
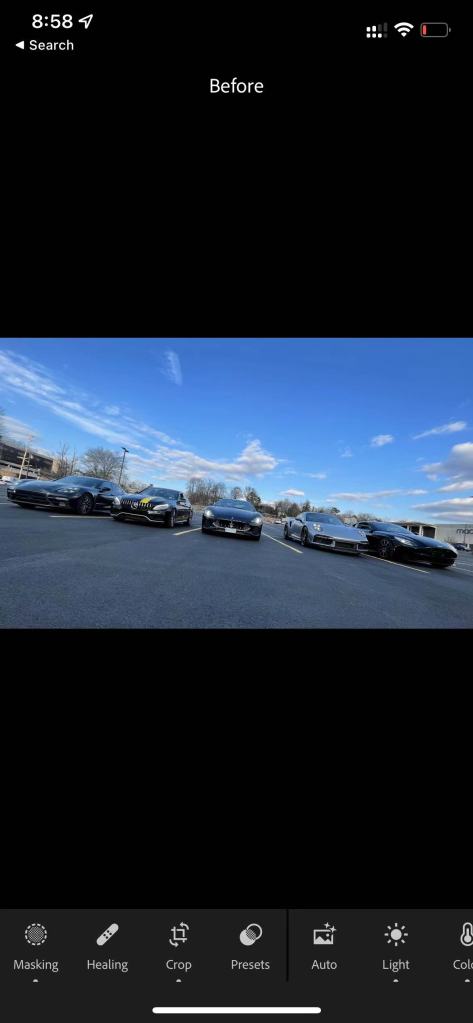
To begin with, I didn’t use any presets for these photos. All of those colorgrading jobs were done by myself self entirely using the lightroom on the iphone. I also didn’t use a camera. The photos were directly shot from my iphone 12pro using either its integrated wide-angle or 50mm lenses.
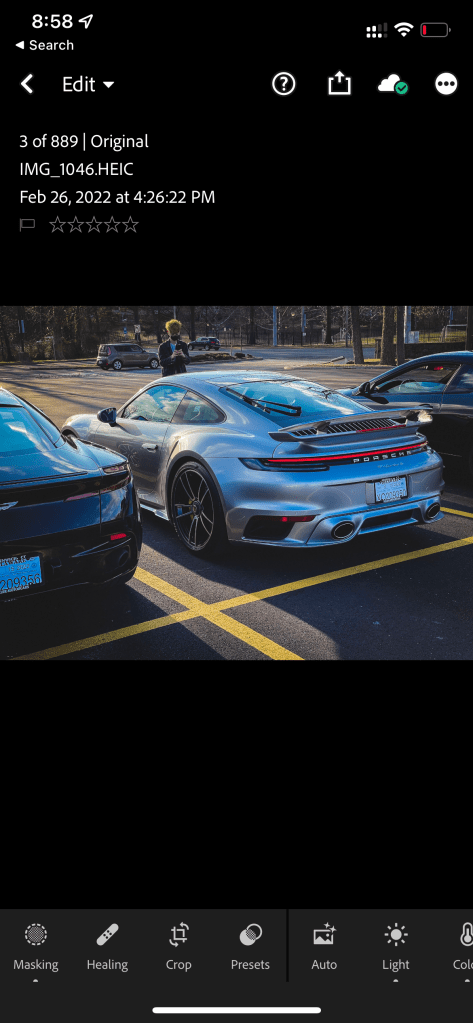
All I did was just (below are screen shots of some editing):
- Adjust lighting, including global lightness, shadows, hightlights, blacks,and whites, to pop out the shinny-polished effect of my car.
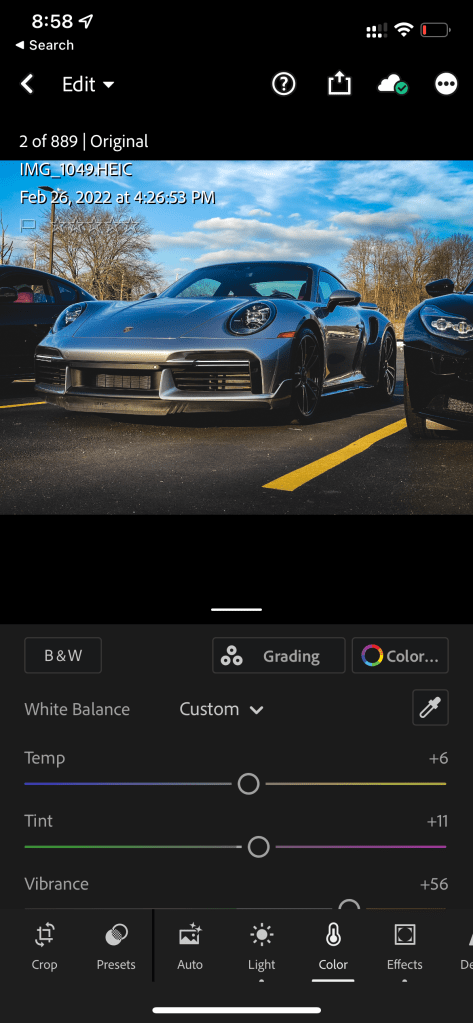
- Adjust saturation by decreasing the overall saturation and pumping up the natural saturation to globally decreasing the saturation as well as maintaining the saturation of the car. (Decreasing saturation is really a convenient technique to immediately make your photo look “Instagram”, since this resembles the movie effects which are mostly low-saturation-based.
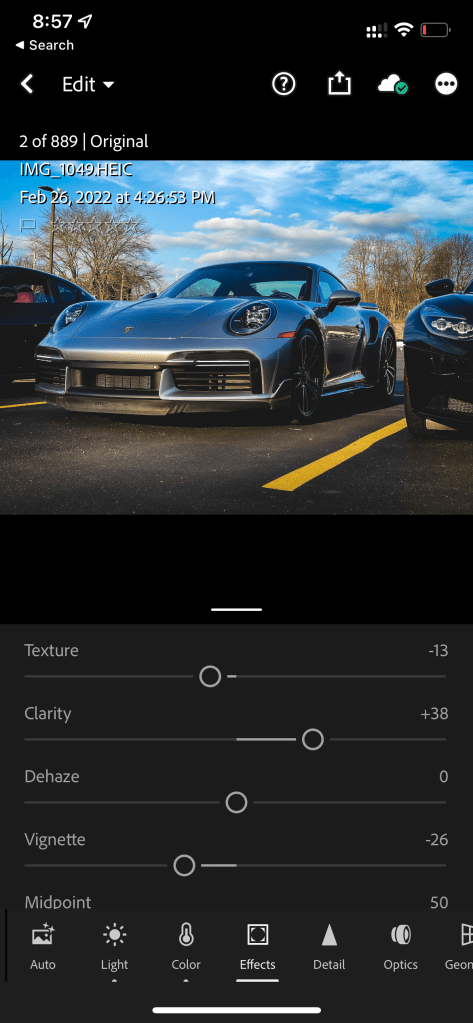
- In the effect section, sliding up the clarity to make the texture looks more crispy as well as boosting the contrast of the photo. Then slide down the texture to decrease the dirty spots both on the car and on the floor.
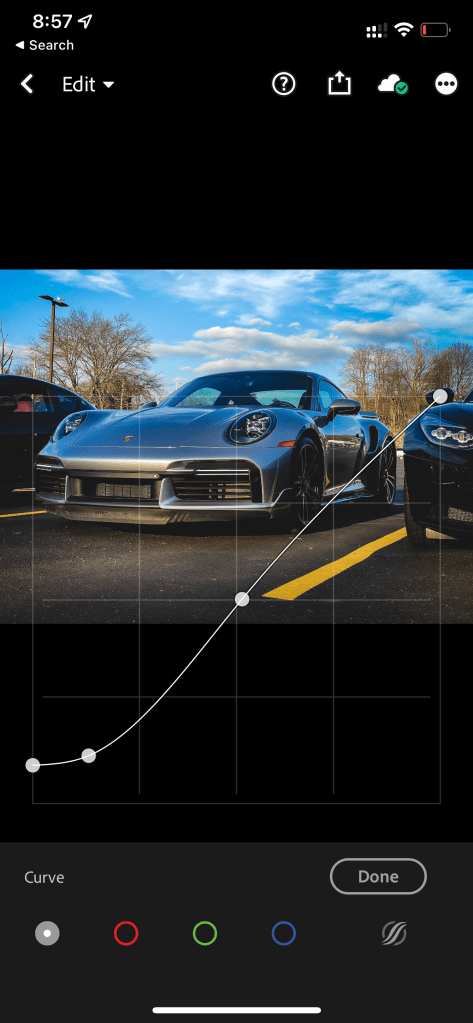
- Use the curve to create a bit of the vintage effect of the entire picture, which is kind of popular among the instagram.
- Also under the effect section, adding some vignettes to the photo to concentrate the audiences’ sight toward the center, which is also the object.

Leave a comment